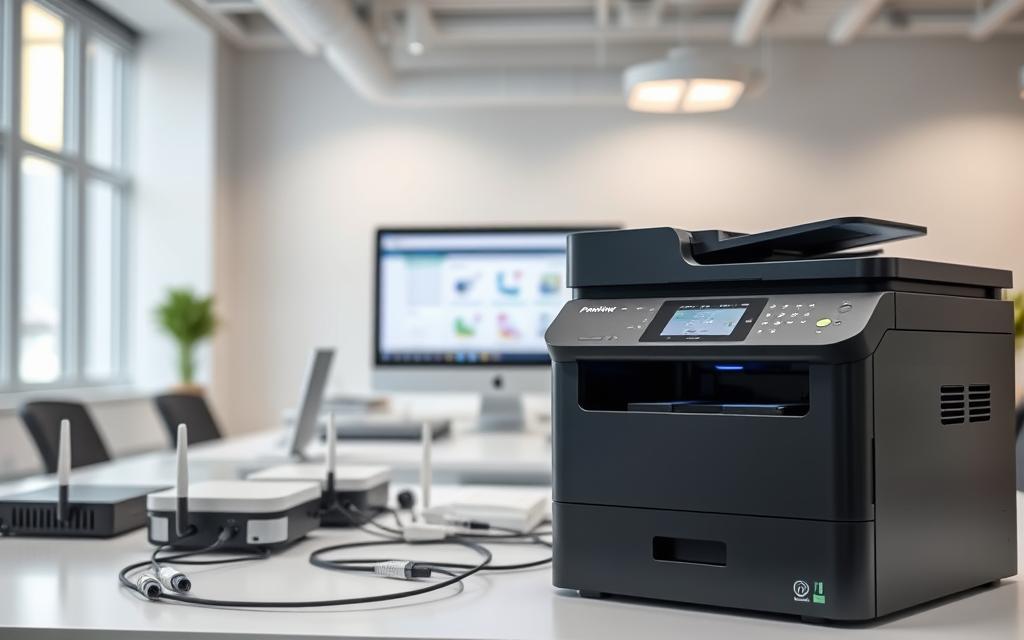
Setting up a printer on a shared network is essential for homes and offices with multiple devices. It allows seamless printing from any connected device, saving time and effort. However, many users face challenges with OS-specific setups, leading to frustration.
Perfect Colours is here to help if you encounter unresolved issues. Ensure your printer and computer are on the same network for a smooth installation. This setup works across Windows 10/11/8 and macOS systems, offering flexibility.
Proper configuration also enhances security, protecting your data. In the following sections, we’ll guide you through the steps for both major operating systems. Stay tuned for a hassle-free experience!
Introduction to Connecting a Printer Over a Network
Network printing simplifies document sharing across multiple devices. Unlike USB connections, this method allows users to print from any device on the same network. It’s ideal for homes and offices with multiple printers or scanners.
There are two primary configurations: IP-based and shared. IP-based setups assign a unique address to the printer, while shared configurations rely on a host system. Both methods have their advantages, depending on your type of setup.
Common network protocols include TCP/IP, Bonjour, and SMB. These ensure smooth communication between devices. For example, TCP/IP is widely used in Windows environments, while Bonjour is popular in macOS setups.
To get started, you’ll need a router, a compatible printer, and updated drivers. Firewall settings may also need adjustment to allow printer discovery. Always ensure your devices are on the same network for seamless operation.
Wireless networks can operate in infrastructure mode or ad-hoc mode. Infrastructure mode is more stable and commonly used in offices. Cross-platform printing can be challenging, but modern printers and protocols offer solutions for mixed environments.
How to Connect a Printer to a Computer Through a Network on Windows
Windows offers multiple ways to integrate a printer into your network setup. Whether you’re using Windows 10, 11, or 8, the process is designed to be user-friendly. Below, we’ll walk you through the essential steps to ensure a smooth experience.
Finding a Printer on Your Network
Before adding a printer, ensure it’s discoverable on your network. Open the Control Panel via the Windows+X menu and navigate to Devices and Printers. Here, you can check if your printer is listed. If not, adjust your network discovery settings to allow the system to detect it.
Adding a Network Printer in Windows 10
In Windows 10, go to Settings > Devices > Printers & Scanners. Click Add a Printer or Scanner. The system will search for available devices. Select your printer from the list and follow the prompts to complete the setup. If your printer isn’t found, use the manual connection option.
Adding a Network Printer in Windows 11
Windows 11 simplifies the process. Navigate to Settings > Bluetooth & devices > Printers & Scanners. Click Add Device, and the system will scan for printers. Choose your printer and proceed with the installation. For older models, ensure compatibility mode is enabled.
Adding a Network Printer in Windows 8
For Windows 8, access the Control Panel and select Devices and Printers. Click Add a Printer and let the system search for available devices. If your printer uses legacy drivers, you may need to install them manually. Troubleshoot any offline status errors by checking the connection.
By following these steps, you can easily set up your printer on a Windows network. This ensures seamless printing across all your devices, enhancing productivity and convenience.
How to Connect a Printer to a Computer Through a Network on macOS
macOS provides a streamlined process for integrating printers into your network. Whether you’re using an AirPrint-compatible device or a traditional network printer, the setup is designed to be intuitive and efficient.
Start by opening the Apple menu and navigating to System Preferences. From there, select Printers & Scanners to access the setup interface. This is where you’ll add printer devices to your system.
Adding a Network Printer in macOS
To add printer devices, click the + button in the Printers & Scanners window. macOS will automatically search for available printers using the Bonjour protocol. If your device isn’t detected, you can manually enter its IP address for advanced TCP/IP configuration.
For non-AirPrint devices, ensure the correct drivers are installed. macOS supports a wide range of drivers, but you may need to download them from the manufacturer’s website. Once installed, your printer will appear in the list of available devices.
If you encounter issues, check the CUPS server for errors. This built-in printing system manages all print jobs and can be accessed via a web browser. Additionally, configure printer sharing permissions to allow other users on the network to access the device.
For seamless integration with iOS devices, ensure your printer supports AirPrint. This feature allows you to print directly from iPhones or iPads without additional setup. With these steps, your macOS network printing setup will be complete and ready for use.
Conclusion
Efficiently managing your printing setup ensures seamless operations across all devices. Whether you’re using Windows or macOS, following the right steps guarantees a smooth experience. Regular maintenance, such as updating firmware and drivers, keeps your printer performing at its best.
For shared environments, prioritize security by configuring access permissions and enabling encryption. This protects sensitive data and prevents unauthorized use. Advanced configurations, like IP-based setups, are ideal for enterprise networks, offering greater control and scalability.
If issues persist, don’t hesitate to reach out to Perfect Colours for expert assistance. Staying updated on emerging wireless printing technologies can also future-proof your setup. For more detailed guidance, visit HP’s official resource.


